Recently, I gave 2 demos; one for the Suncoast Bonsai Society (in the Tampa/Clearwater area) and one at Erik Wigert’s 7th Annual Open House in North Ft. Myers.
For Suncoast I carved and styled a Campeche.

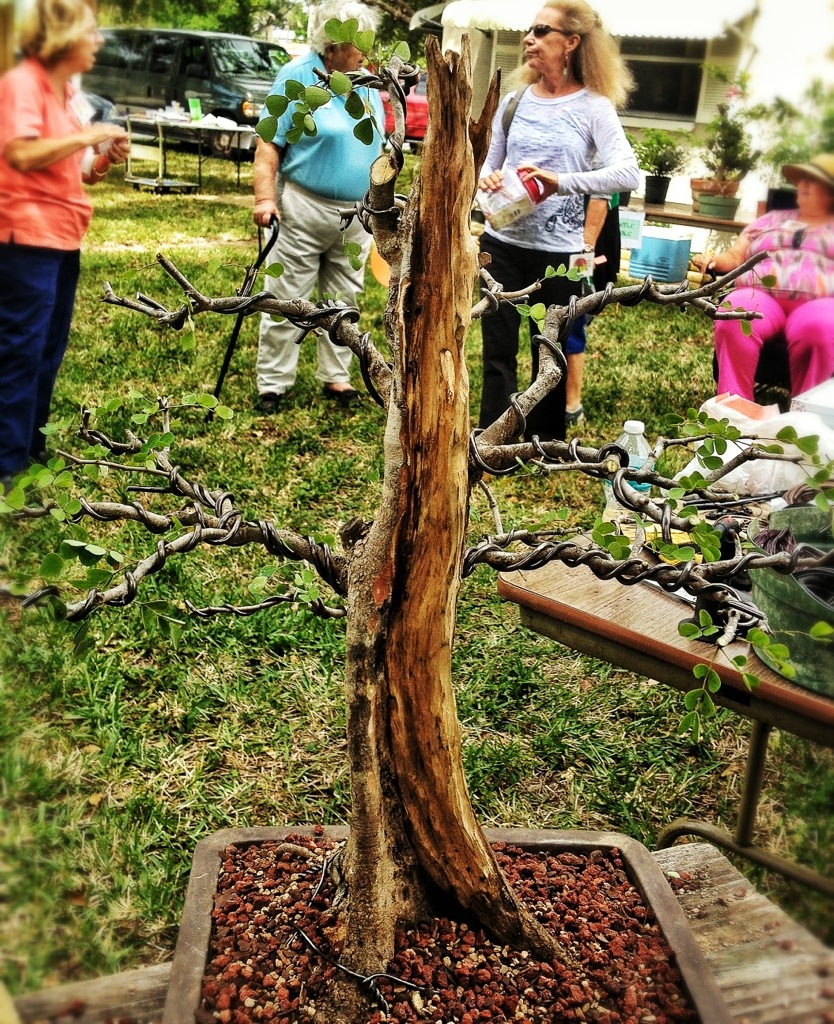
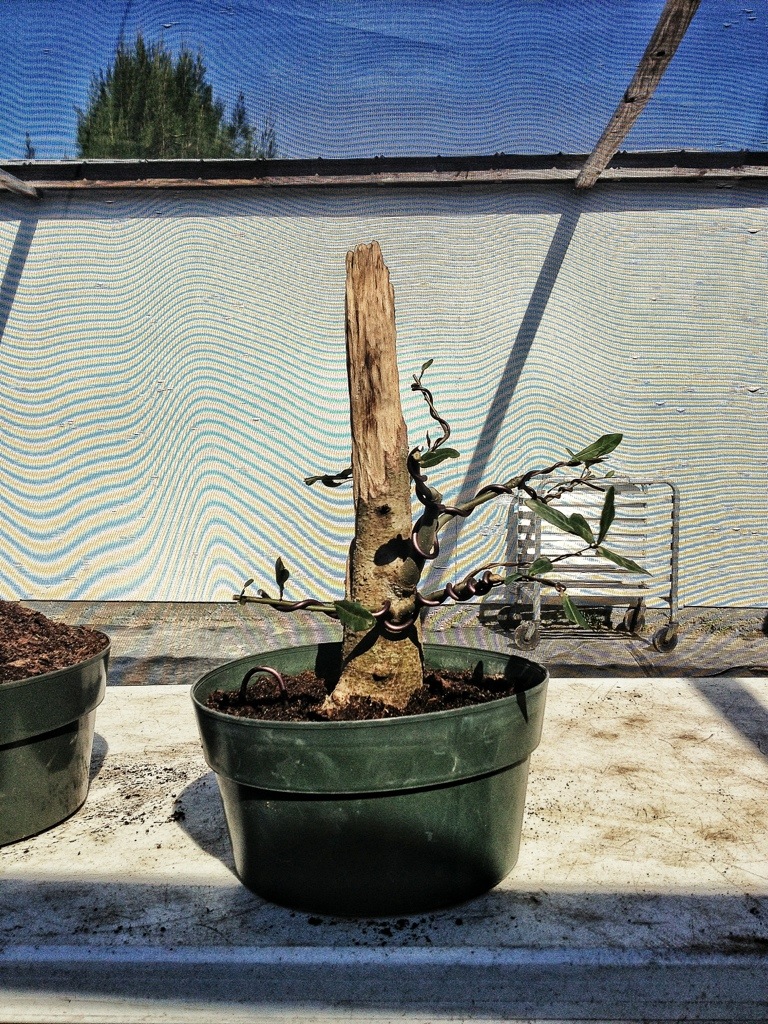
This is the before. I’ve had the tree for a couple of years now and the branches were selected and some placement had been done already. My goal was (admittedly in a lazy way) more ramification, thicker branches, and an overall strength that only comes from growth. I think, with all the growth on it
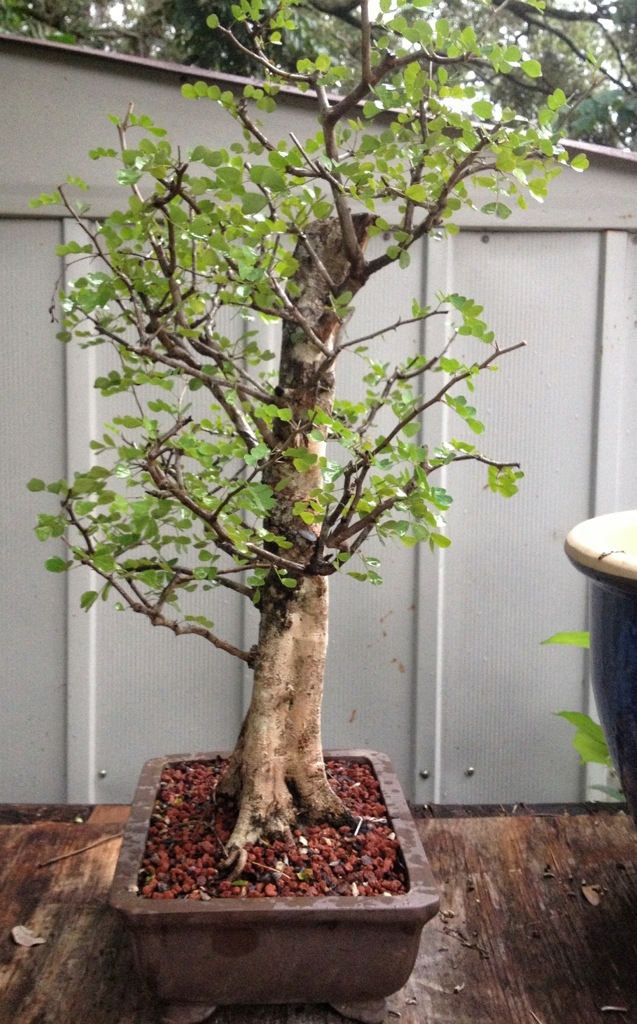

I’ve achieved that goal.
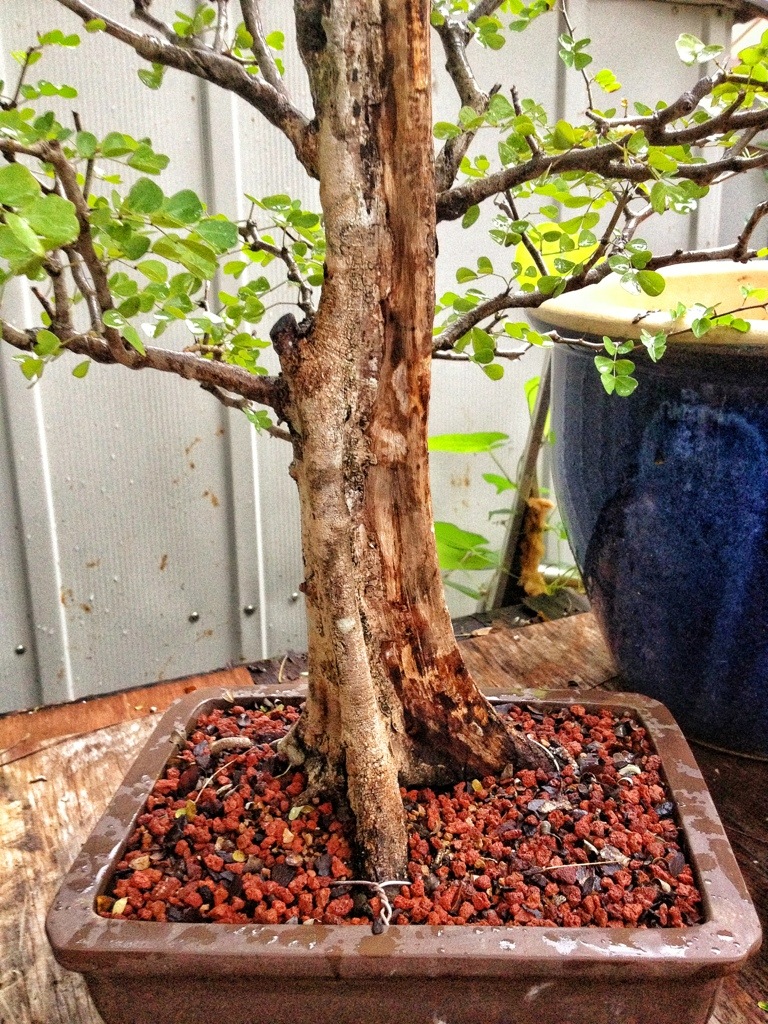
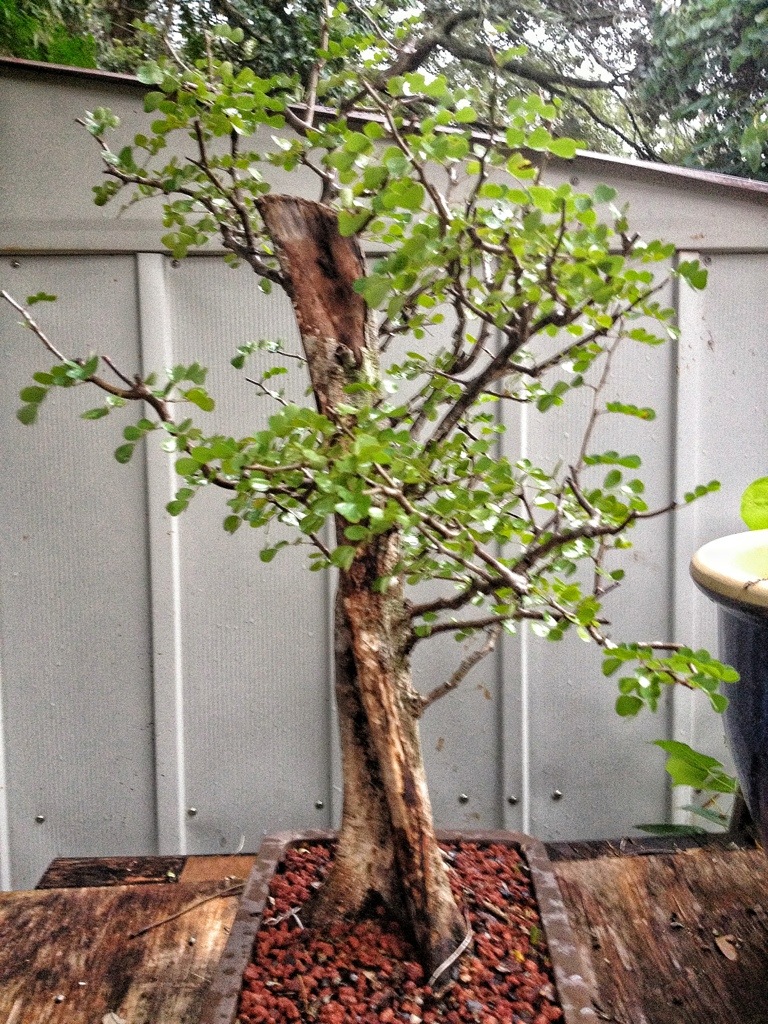
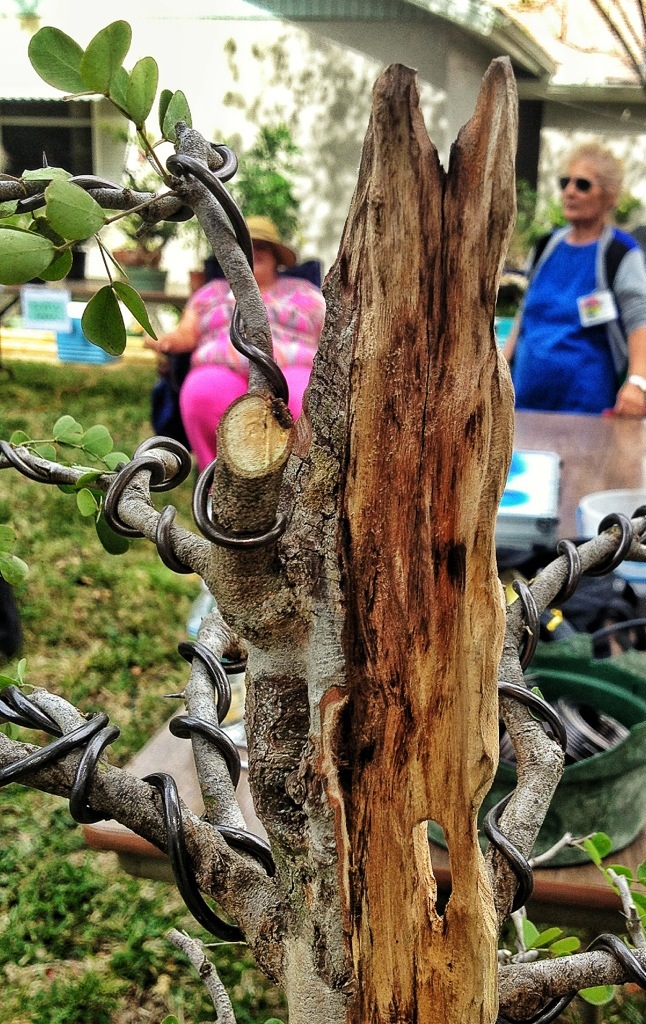
This is the current front. Notice the deep fluting; this is a typical characteristic of this tree. And it’s also very desirable. The extreme flare and almost architectural structure lend to the aged (that word, aged, should be, in the previous sentence, pronounced, age-ed. All proper and whatnot) appearance.
The species is (I think) Haematoxylum campechianum, that’s what everyone’s been calling it. But in my research I’ve come across this species: Haematoxylum brasiletto. Both have the common name of logwood. Palo de brasil is another name for h. brasiletto or Mexican logwood.
The difference is: one grows in a swamp (h. Campeche) and the other not. Since I am not a botanist, and I don’t have access to both side-by-side, I can’t make the judgement whether or not what we are using is one or the other. They are both very similar.
Logwood (both species) was used as a fabric dye,mostly red, that made fortunes for princes and pirates both in the post Colombus world.
The heartwood, if steeped in hot water, makes red dye. If an acid is introduced you get blue.
It’s this dye that gave Brasil it’s name. Brasil or brasel is the Portuguese word for “red ember”.
It’s the logwood industry that gives us the flag of Belize.

It shows two “Baymen” (logwood lumberjacks) in front of a logwood tree. Which looks much like a bonsai, I would say.
A fascinating story that no one has heard. Can you imagine pirates rejoicing at finding a cargo-hold full of logs? They did.
Ok, enough of that, back to business.
I will adjust the front clockwise

Like so.
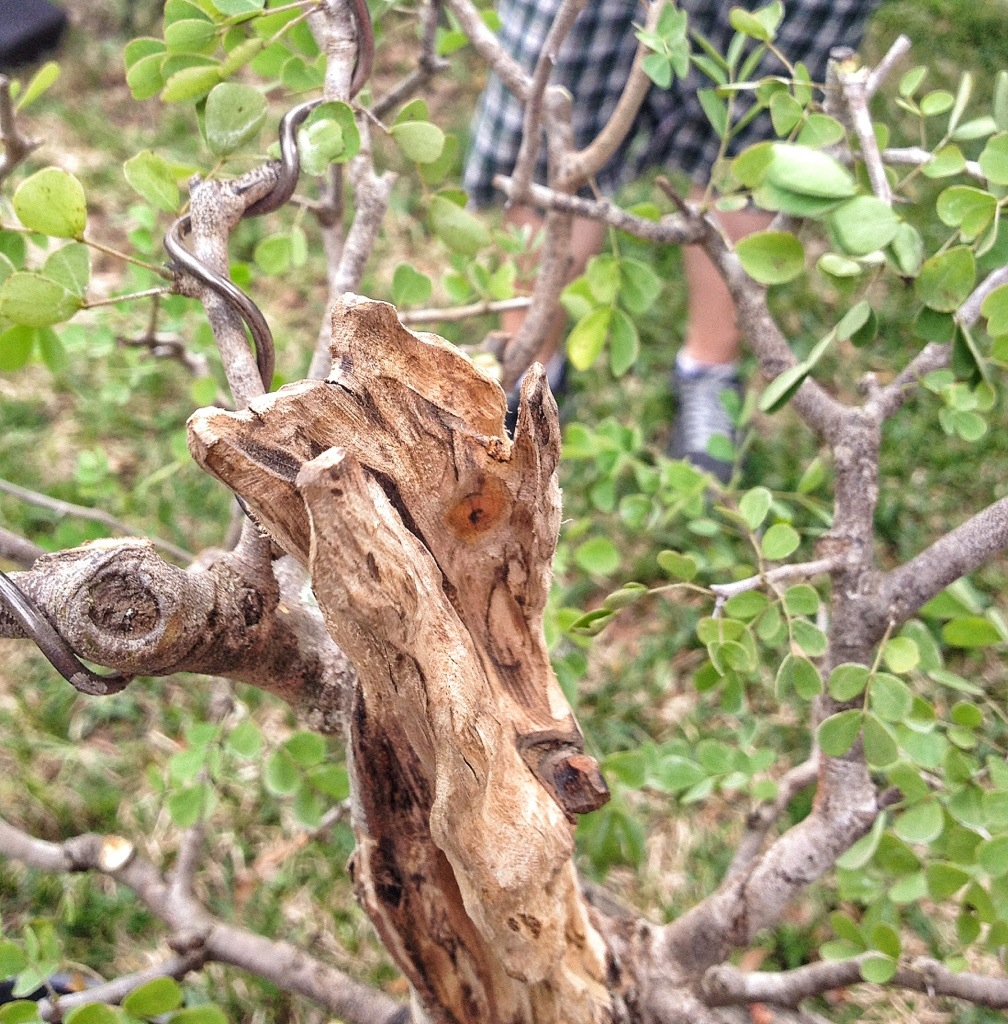
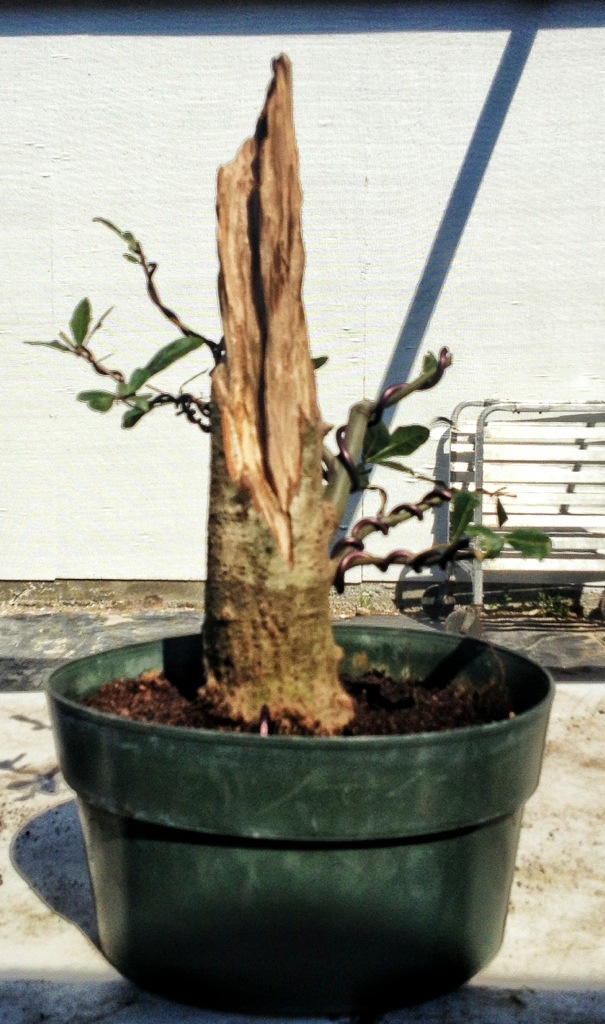
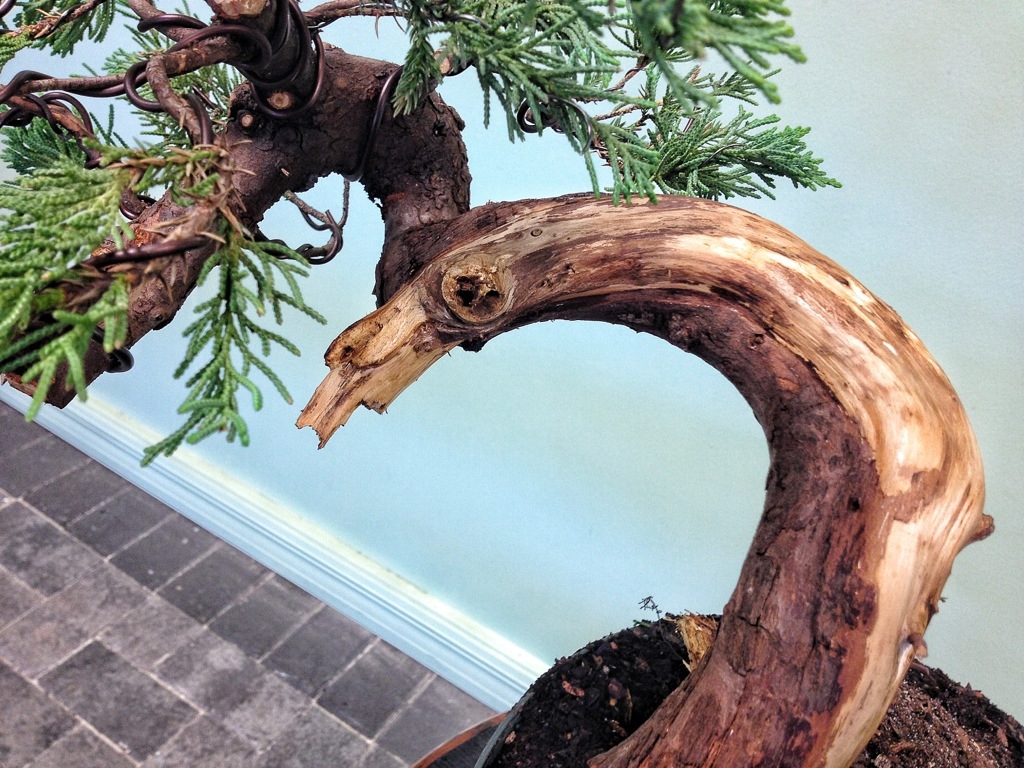
The collection process caused this whole side
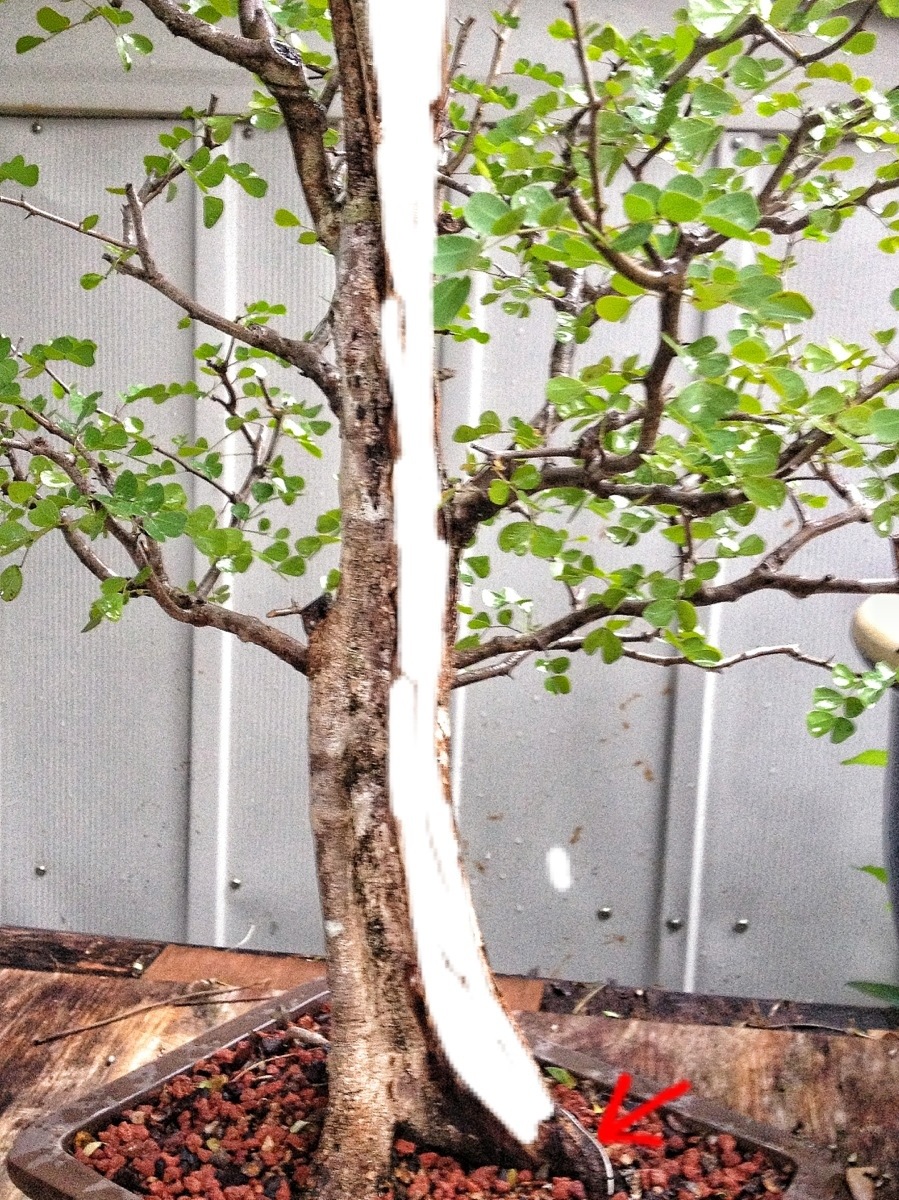
( the area in white) to die, which is not a bad thing, really. But,surprisingly, where the red arrow points to, is still alive.
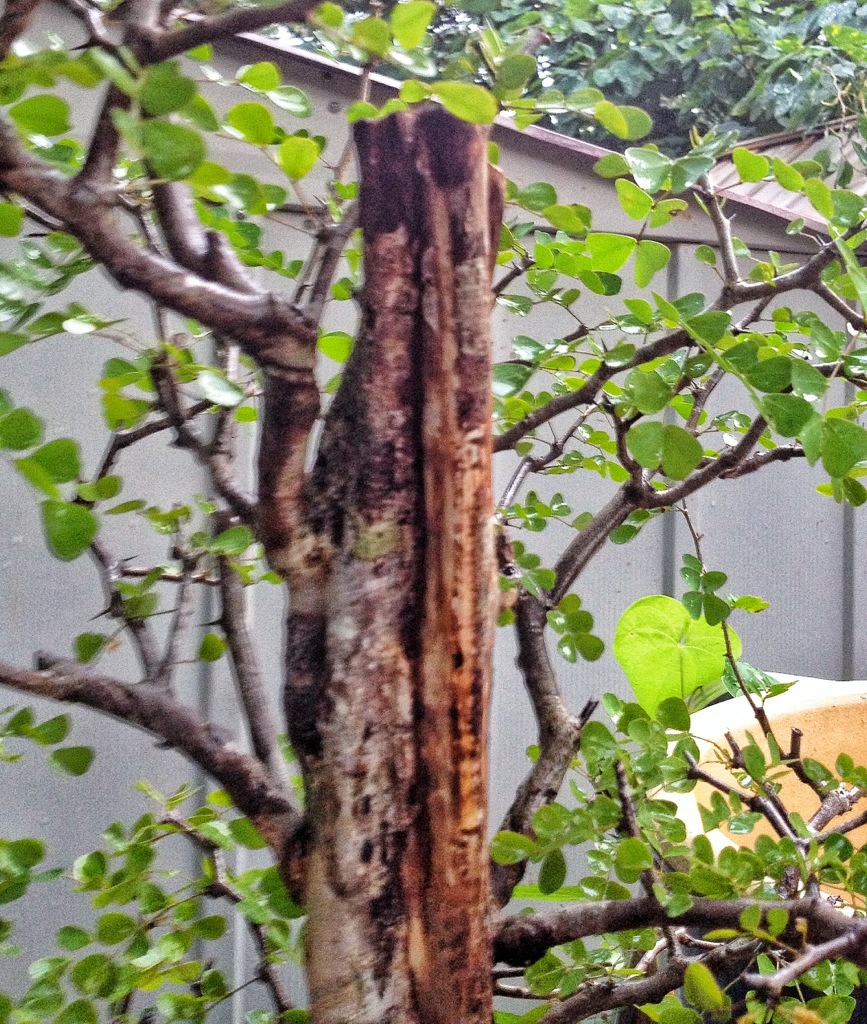
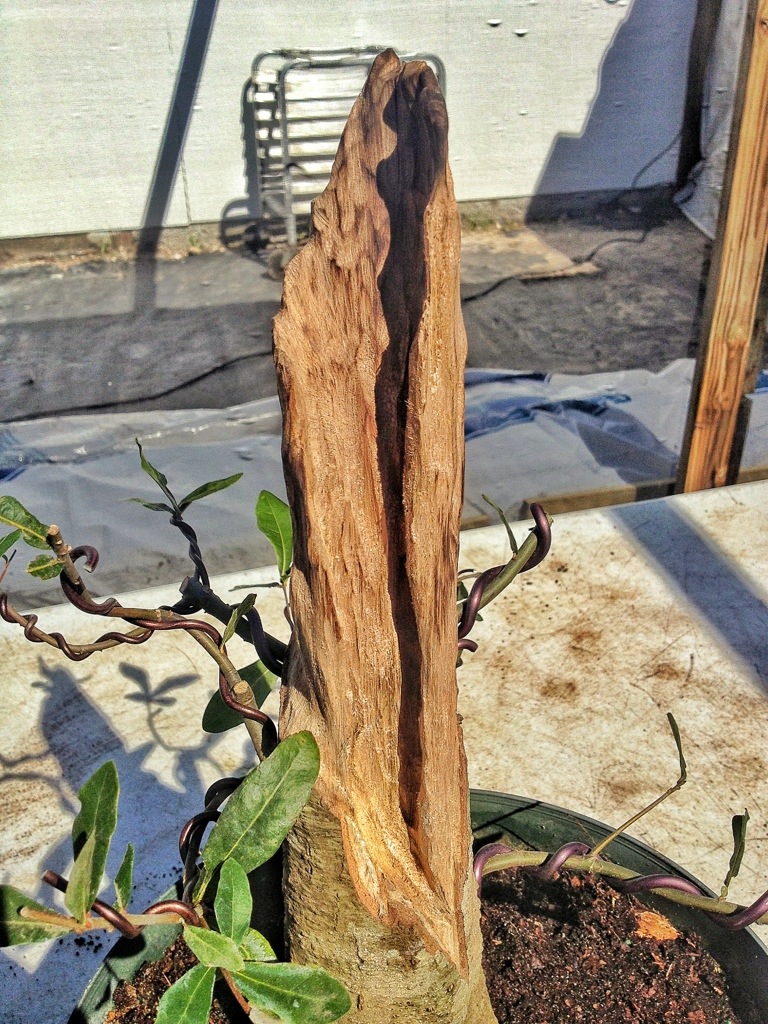
This detail shows the straight cut top that’s typical of a collected trunk. It’s my job to “Make it purty”.
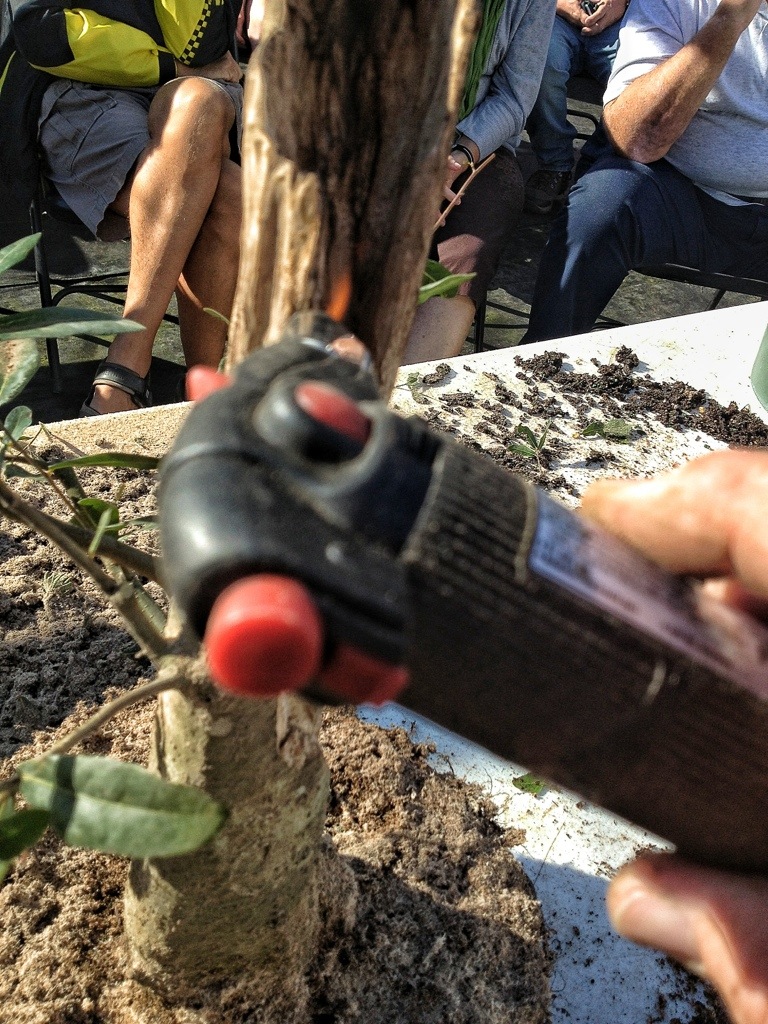
Here is the setting for my demo:
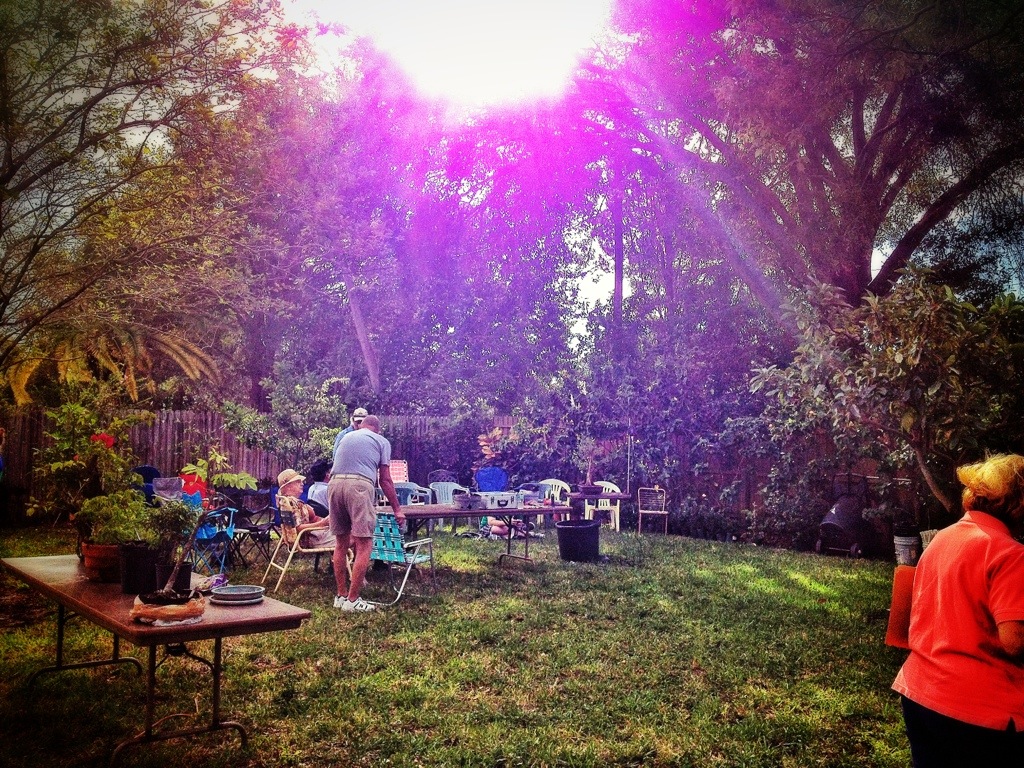
A bright and beautiful Florida autumn day in Doris’s backyard.
This gentleman wanted front row seats. I wonder if they told him I was carving?
If you come to a carving demo of mine, it’s a bit like a Gallagher show. The first few rows get the best (or worst) of it.
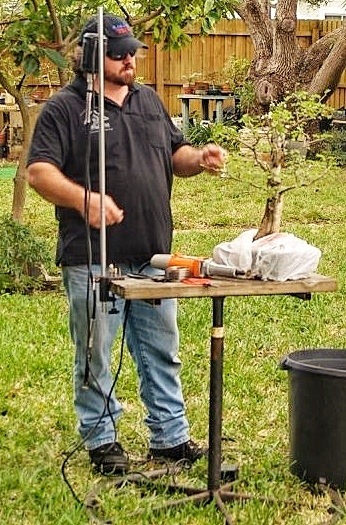
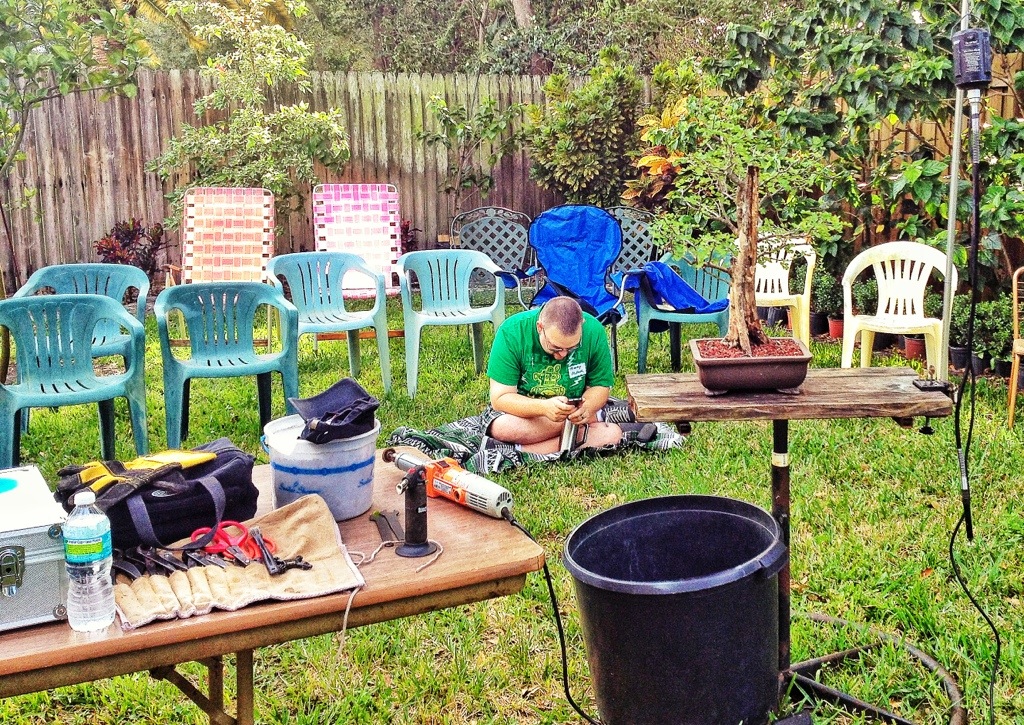
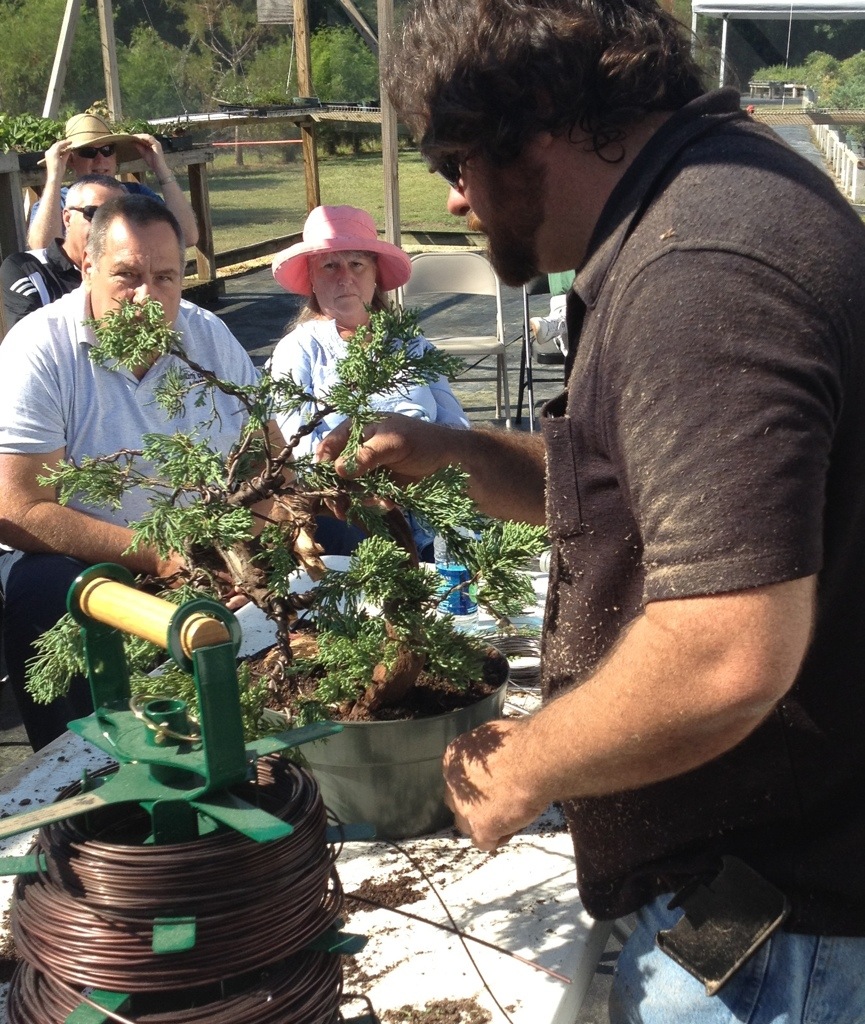
There I am pontificating about something profound or profane.
I don’t have many in between pics as I was getting paid to talk and not take photos.
So I’ll show some details of the carving.


I’m pretty sure those are chronological.
My technique is dependent on the use of hollows instead of sharp sticks, and building thin walls and subtle detail. I use a variety of power tools, from an angle grinder, a die grinder, to a flexible shaft carver. I use a chain saw at times too. Not this time though. Maybe next time.
On this I used just the die grinder and the flex shaft tool.
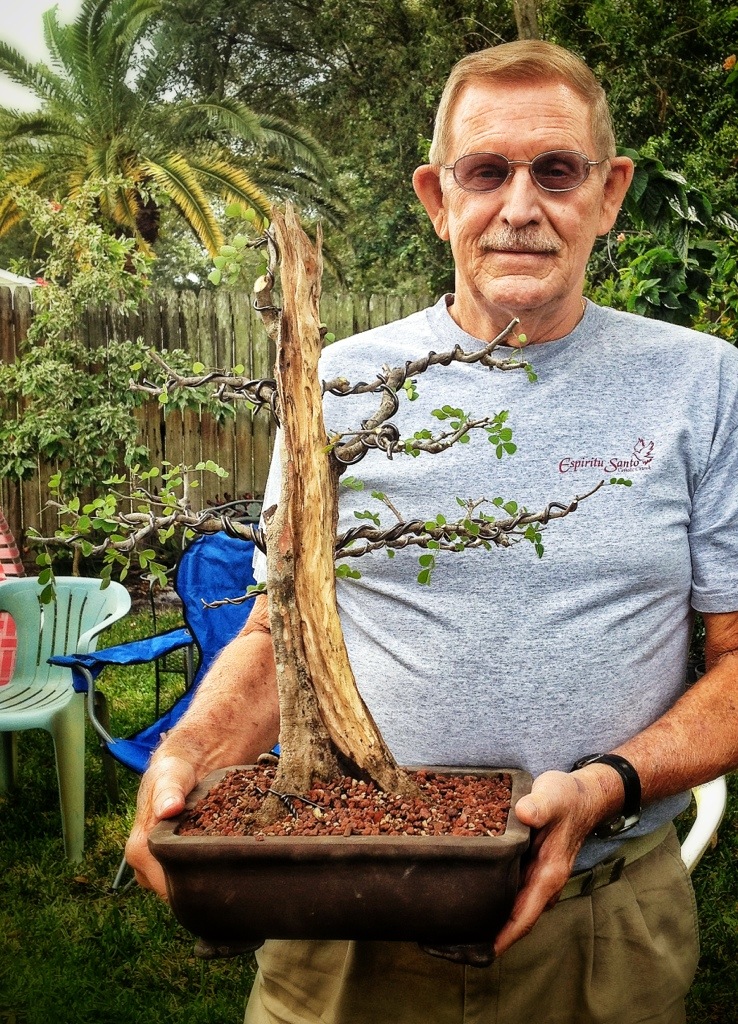
Here is the finished tree

The main purpose this. carving is to induce taper to the tree. Which was lacking in the above photo.
By turning it I also brought out the gentle movement.
The winner of the tree was Richard
I hope he likes it.
This is my idea what it should look like on paper
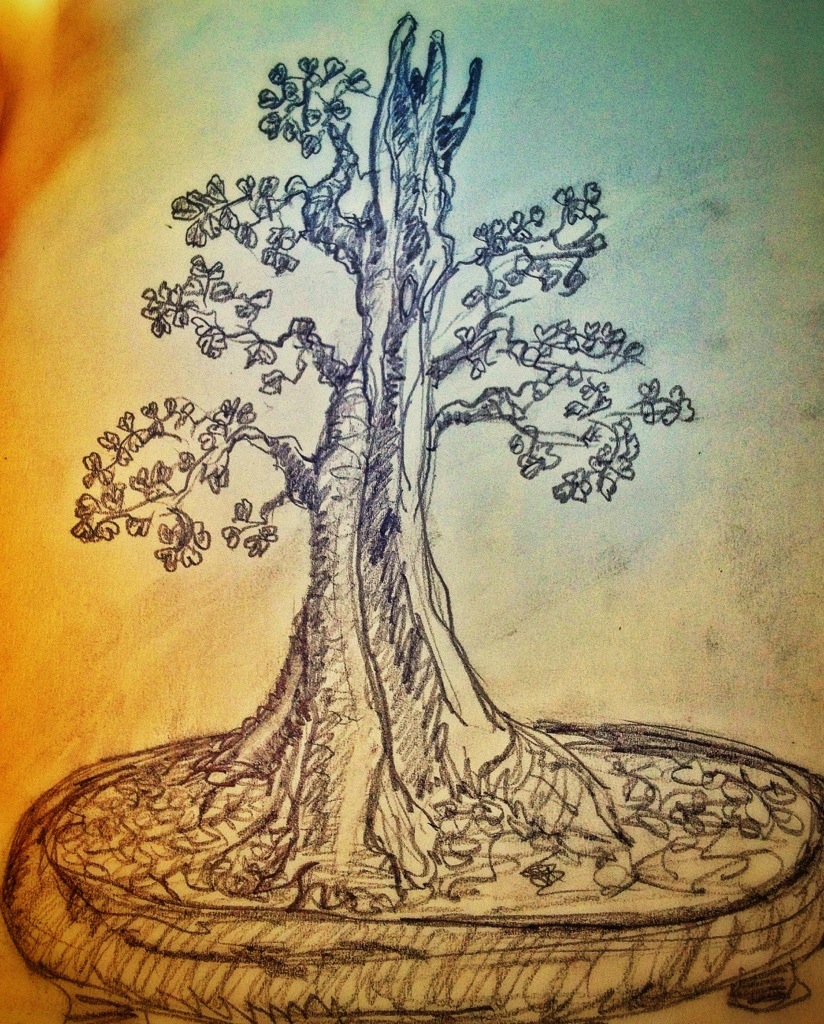
To achieve the shorter, thicker branches in the drawing requires growing out and then cutting back repeatedly. The growth on the Campeche is quite vigorous and requires a bit of diligence. But this also lends itself to a faster turnover time in the maturation of the tree.
I’d like to thank Doris for opening her home for the demo.
The next two trees I did simultaneously at Erik Wigert’s 7th Annual Open house.
I get to pick any tree from the nursery I want in my demos for Erik. I usually choose at least two. I’m greedy that way.
Actually I usually do a tree that needs carving (to show what can be done with less than ideal material) and a tree that just needs some styling and wire. To show off on, basically.

Here’s the front and next is the back

The first tree’s common name is Laurel oak. Quercus laurifolia.
The thing about oaks though is that they are a bit slutty, promiscuous even. So this one could be any mixture of live oak, water oak etc.
I’m lacking in a DNA kit today.
It’s basically a telephone pole. No taper at all.
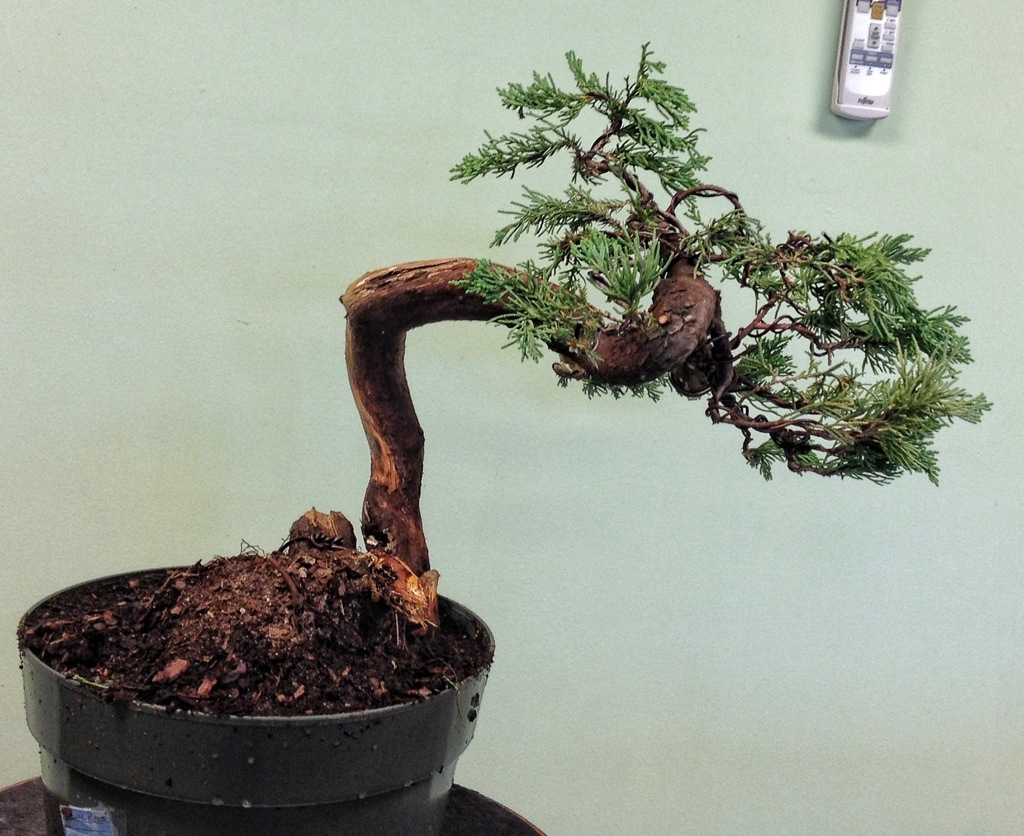
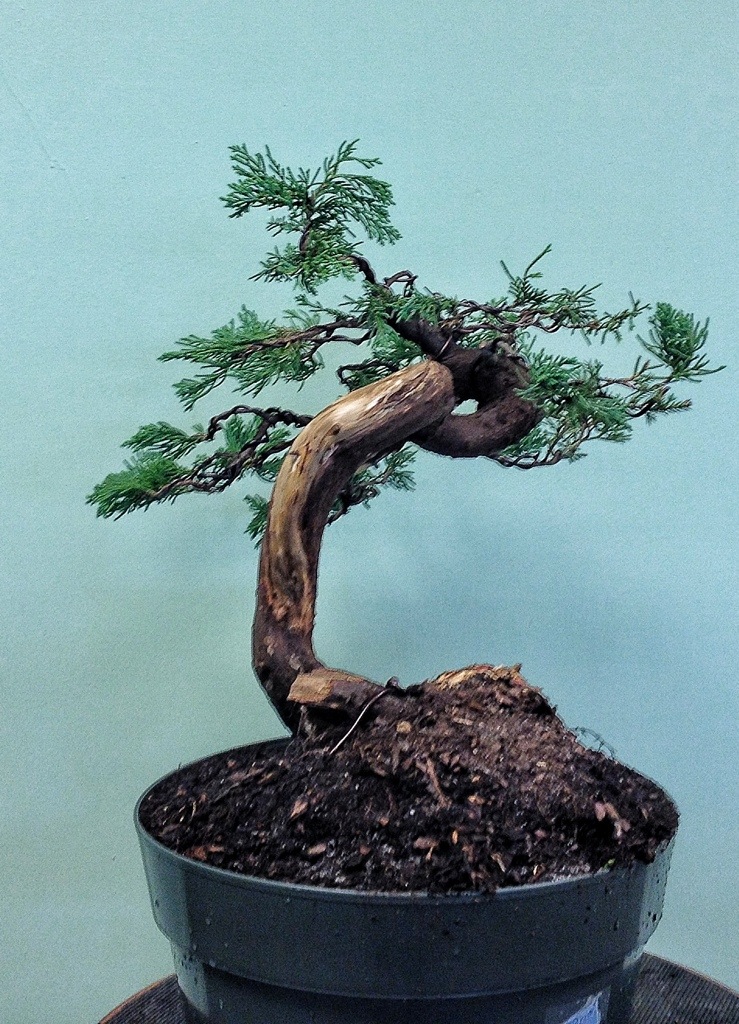
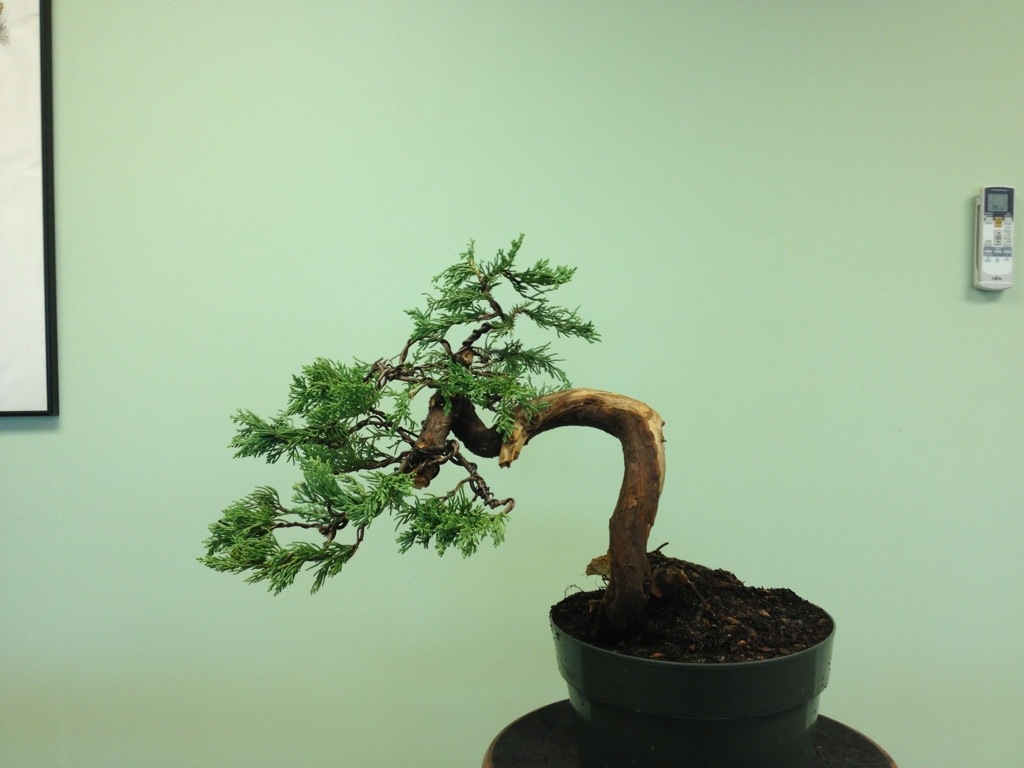
The second tree I worked on is a Parson’s juniper. Juniperus chinensis “parsonii”
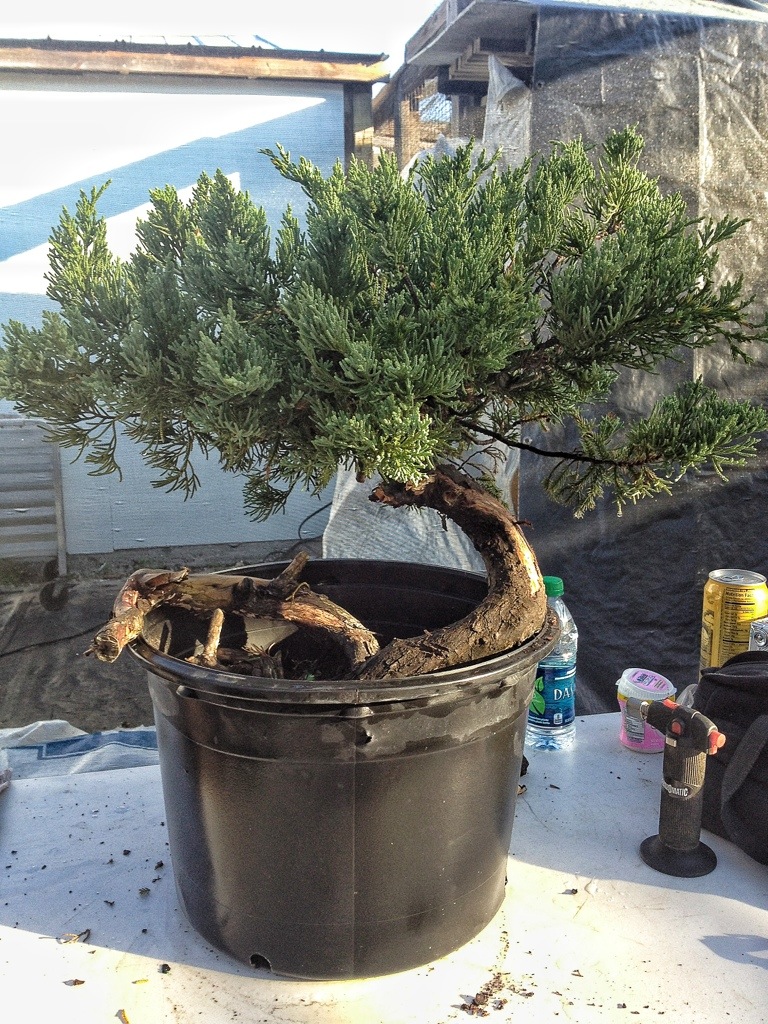
The characteristic that sets this species apart is the way, even in ideal conditions, that the trunk will twist and contort as though its being beaten down by the elements.
The drawback is the foliage. It will revert to juvenile needles at a drop of a concave cutter.
A little about that; first, there are two types of juniper foliage. Needle and scale. The parsonii is a scale type.
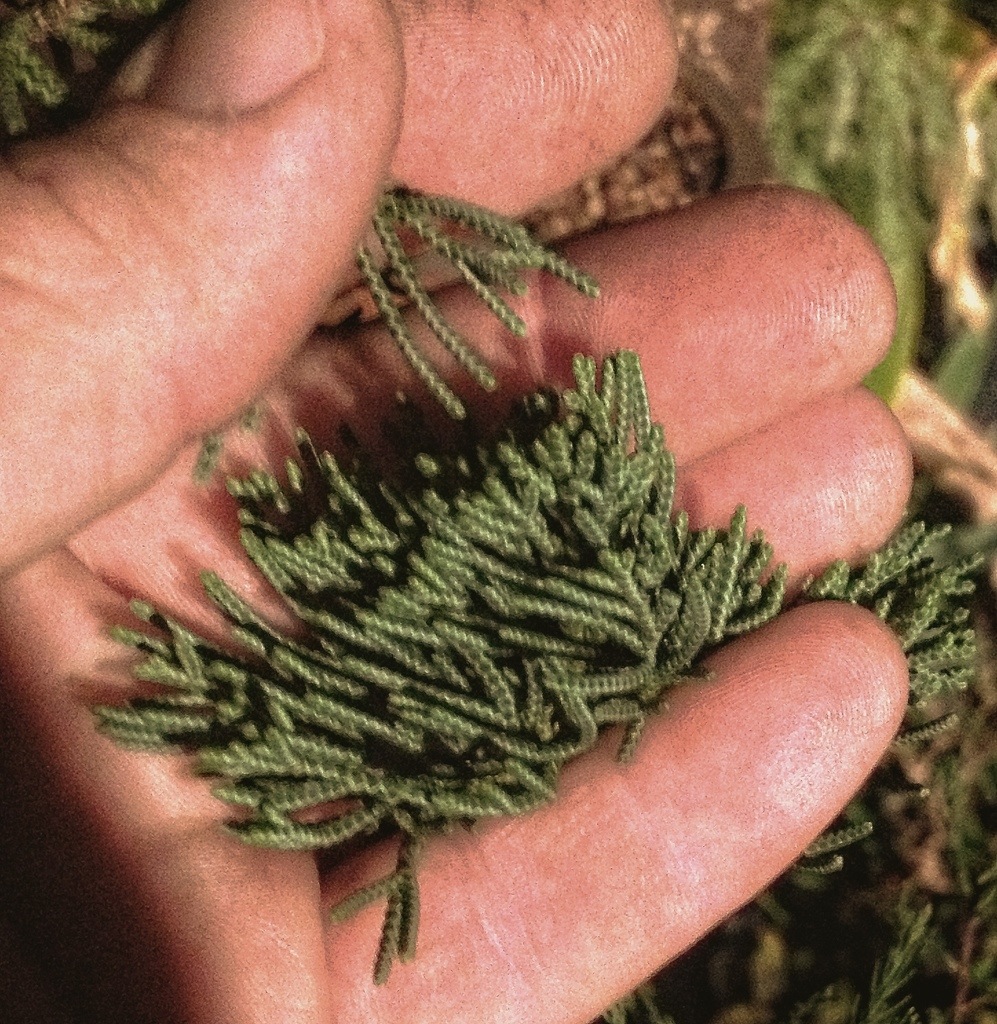
Here’s one example
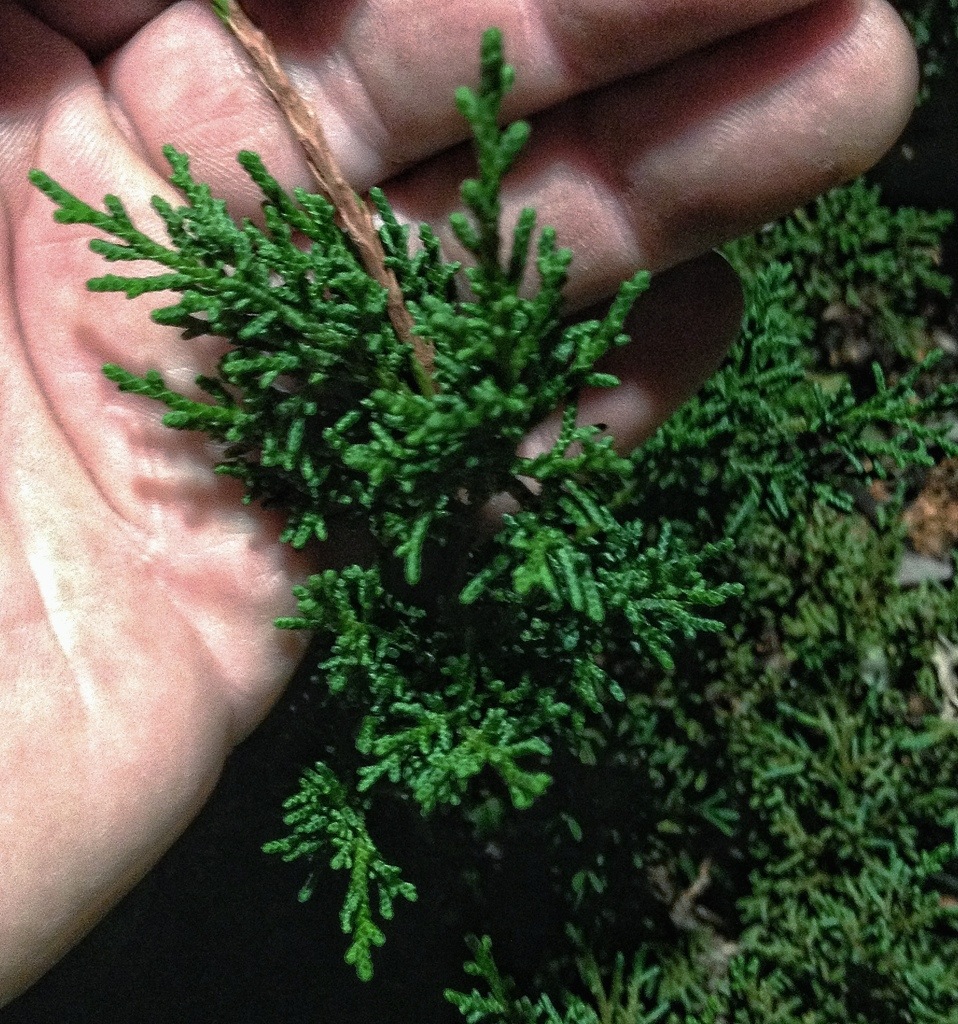
This is another. Shimpaku juniper in this case.
To contrast, this is a juniperus rigida
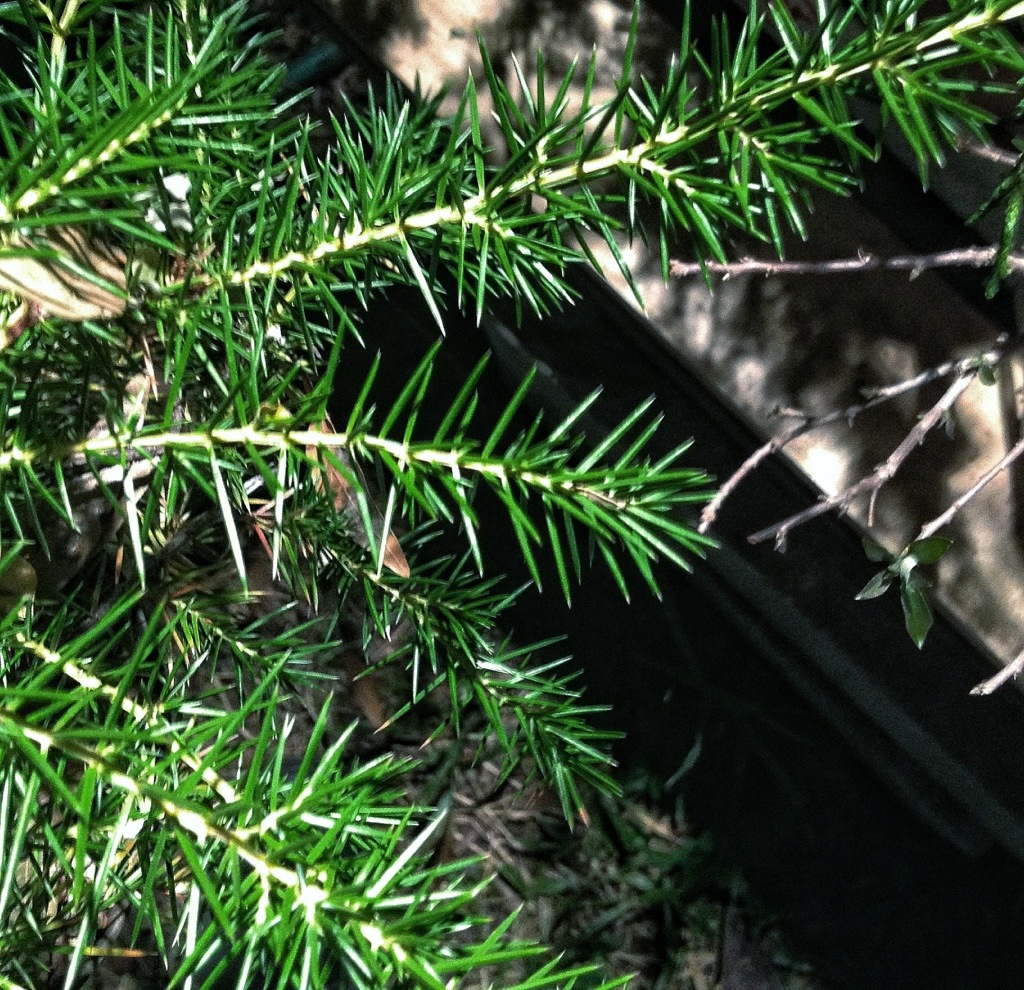
Yes, they are like little needles. Very painful.
This
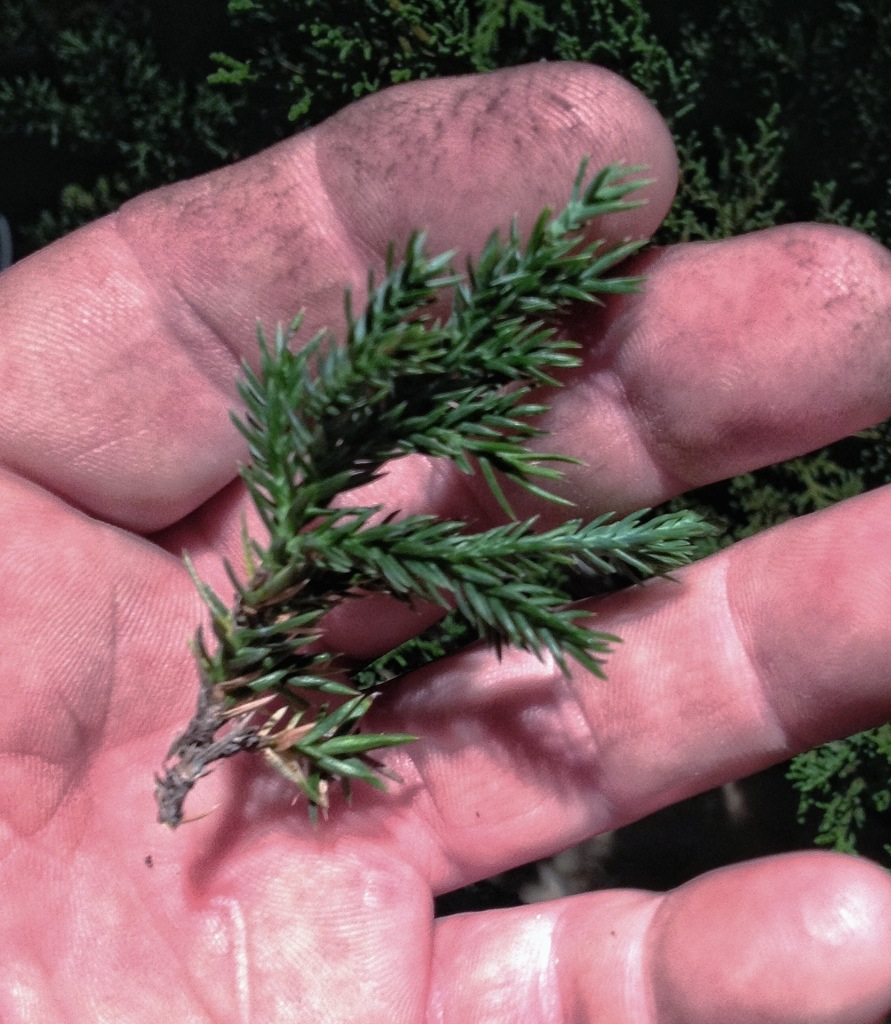
is juvenile foliage (parsonii)
And this

is both kind on the same branch.
What happens when you cut too hard on a juniper is the tree will respond with vigorous growth (which we call juvenile) to replace what was just cut off. Remember that a tree is a living solar panel that requires a certain amount of square inches (or centimeters for the rest of the world) and it will try, as much as it has energy for, to grow and replace the foliage as fast as it can.
Just about all scale junipers will respond to heavy pruning with juvenile foliage. When you’re in the refinement stage it’s best to not perform heavy pruning unless you’re prepared to wait years until the mature foliage comes back.

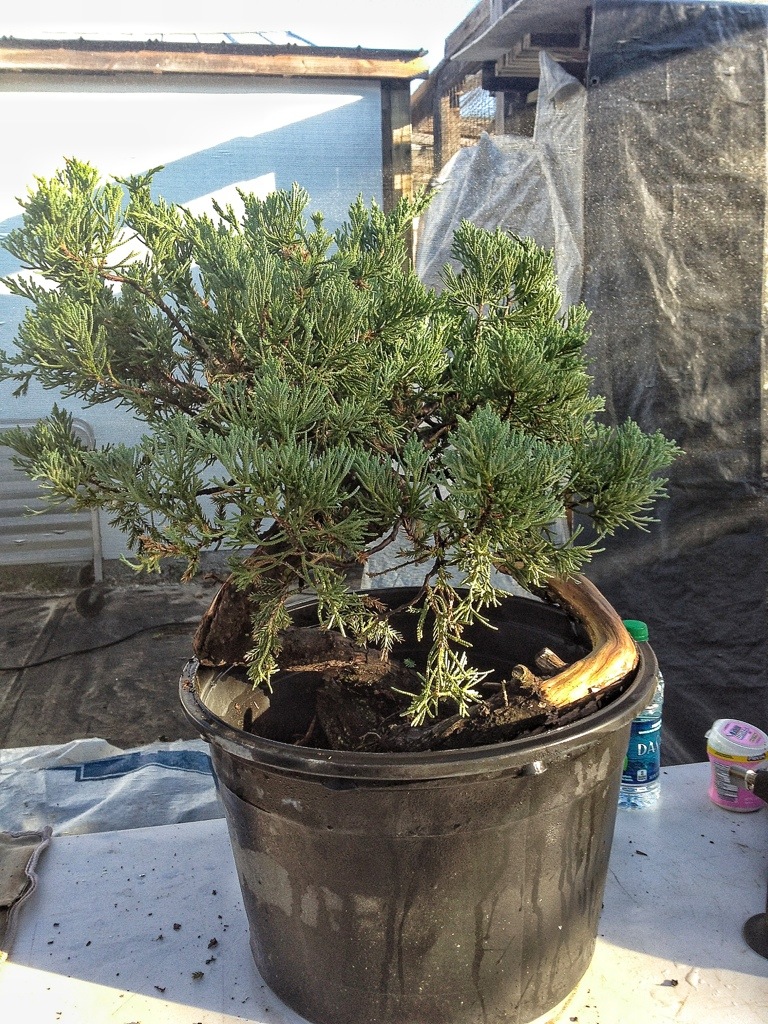
Here’s a view into the tree; it really has superior movement.
First thing I did was reposition the planting angle of the tree. Which I don’t have any pics of…….sorry.
Remember, I was being paid to give a demo and not take photos. My photographer actually couldn’t make the trip (Nick…).
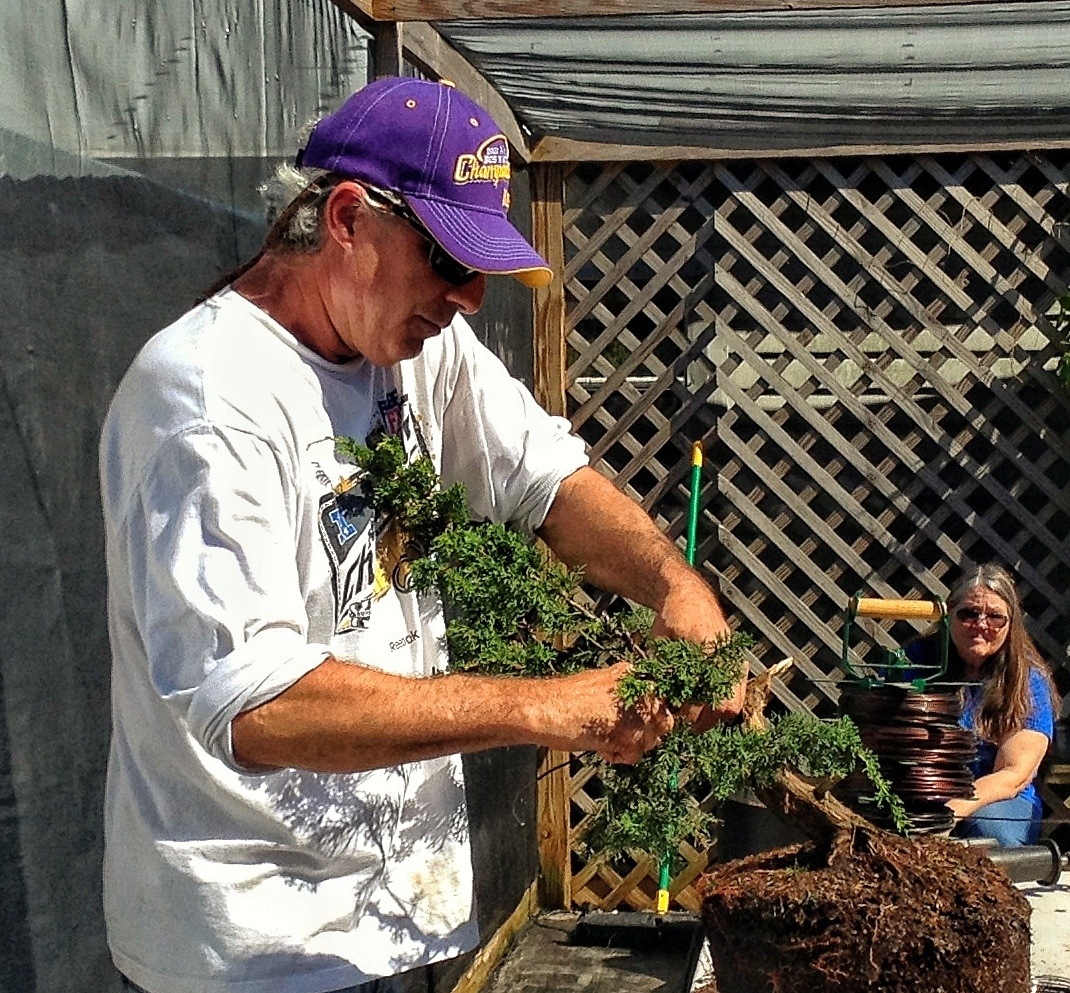
Then I had my assistant (imagine that!) Dave

(You remember Dave right? Sorry girls, he’s a married man)
clean out the excess growth in the crotches (kinda like a juniper Brazilian wax) of the branches and brush the bark and deadwood to show the live veins.
While he did that I did some carving. And burnin’
Oak wood takes detail really well. It’s not really as hard to carve as say, a buttonwood.

This is the rear.
This is the trees left side. Notice the nice heavy branch. This will help to give the tree some age.

And the trees right side. It also shows the good back branching.
Detail of the carving. I can see, after this ages a bit, adding some wormholes and more cracks to it.
And there it is.
What I see for this is a frame of a deciduous type branch structure. An oak will try to fill and balance itself in the growth of that giant canopy.

Here’s how I see it.
Now to the juniper.
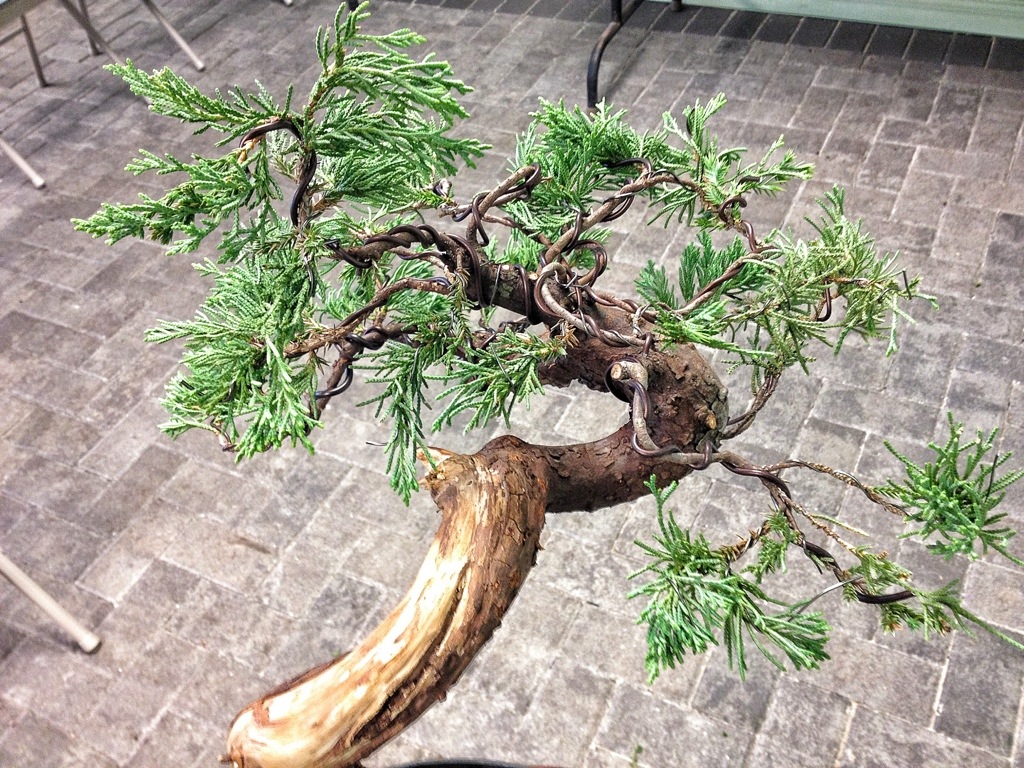
After changing the potting angle, defining the live vein, cleaning and wiring we have this
And now the magic. Shaping.

Before

Just after the demo.
Back and side view.


And some detail shots.
Basically I created pads using the wire placement. This will fill in quickly. I don’t suggest working the tree again for at least a year. Let it grow,man! (Actually it was a woman who won it)
I will again link to Michael Hagedorn’s article on juniper pruning (here) for the corrected, suddenly uber popular, technique. No more junipercide.
Here’s the front again against a better back ground.
I’d like to thank Erik

(Cleans up nice,right) and Andrea for having me. And now some pics from the event
Guy Guidry being serious.

And not so serious

All the guys, Max Engels, Pedro Morales, Guy Guidry, Erik Wigert, me and John Powell.
It was great watching and working with you all.
Here’s a link to a YouTube video of the first day. (link)They spelled my name wrong but’s its not uncommon for that to happen.
Oh, the drawing for the juniper….
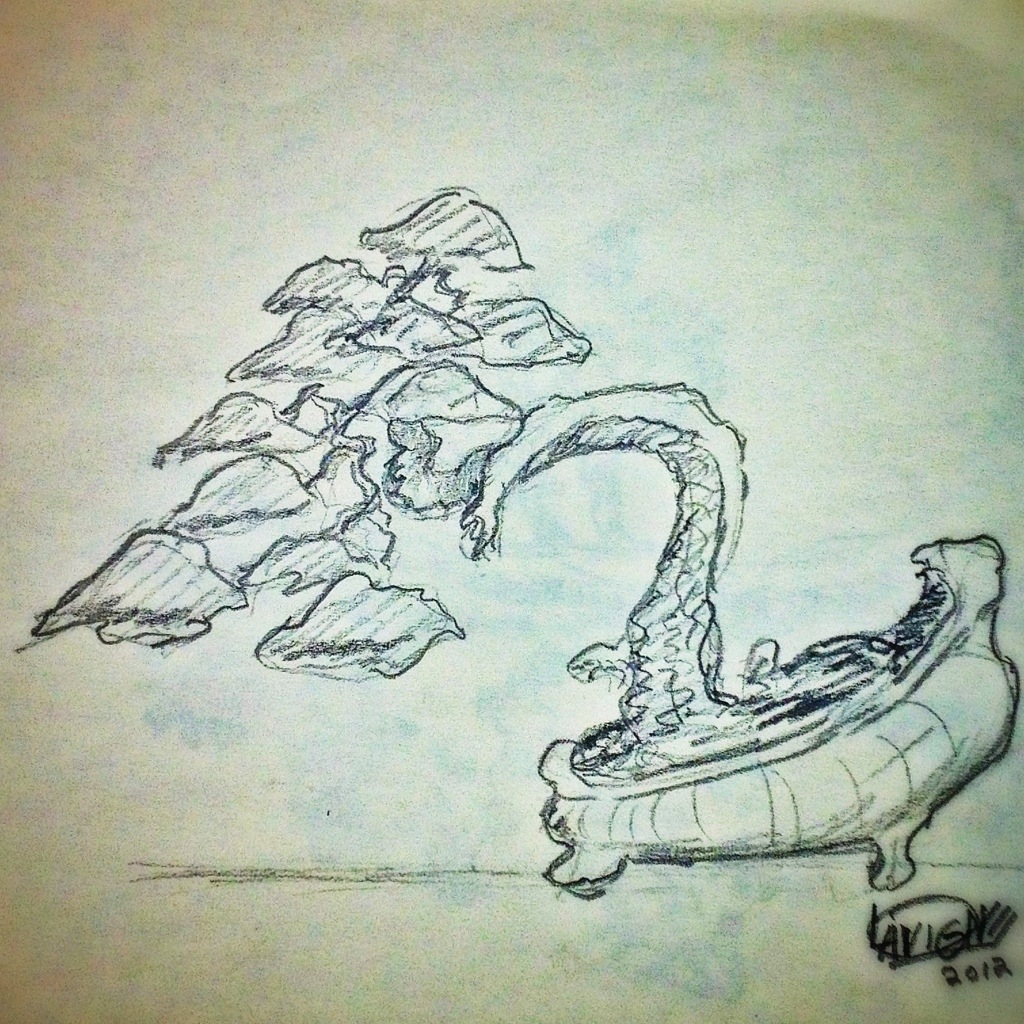
I see it in an antique, cast-iron bathtub kind of pot. Maybe it will have to be a commissioned pot. A crescent pot would look good too. Not as fun though.

Good Post. I liked the history lesson on the logwood.
Andy
LikeLike
Thanks Andrew!
LikeLike
I just left Sam’s club. Traditional pre-holiday Juniper bonsai for sale in the vegetable section of the store. Tried to push the rocks aside to look for a root system as it really kinda looked like the end of a branch that had been bent a bit. Rocks were glued together and no drainage holes in bottom of pot. Sad.
LikeLike
That’s where I got my first bonsai actually
LikeLike
Did you have to chip it out of its container?
LikeLike
Yes
LikeLike